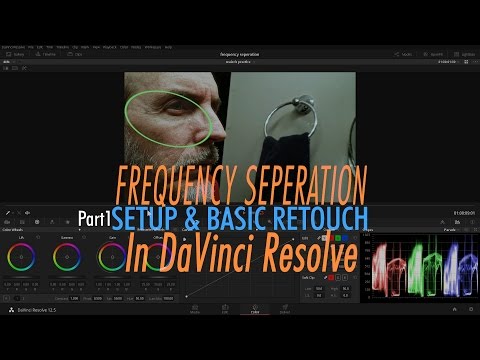
Why do you have an Unsharp Mask in there? The frequency separation technique is essentially already a variation on USM, so using the node there is going to just confuse your results and is likely the source of the artifacts. I'm not sure what artifacts you're talking about, by the way, as your screenshot is rather low-res. I suspect it's the ringing visible in a few strands of hair and around some of the bright highlights—those almost certainly caused by the unsharp mask.
When you're doing work of this kind, it's critical to always view your work at 100% scale in the Viewer. You don't want the Viewer's filtering to disguise anything. Also, you might experiment with using the Box Blur rather than Gaussian. It's slower, but it produces a smoother blur that might better separate your frequency windows. You'll want the number of passes in that mode to be high—10 or so.
Okay, on to the theory.
When you're in floating point space, addition and subtraction work just like they do in arithmetic: 3 - 5 = -2. -2 + 5 = 3. That is, if you subtract one image from another, you can get the original back by adding it again. It's important to know that this works only in float. If you're in integer mode, even if it's 32-bit, the math doesn't work because integer mode doesn't allow negative numbers or values above 1.0. Int mode causes clipping.
In Fusion, just because you set your project to float32, that doesn't necessarily mean the image stream you're working with is float32. You often need to explicitly convert your image's bit depth, as Fusion's defaults will allow the stream to inherit the depth of the source file. You can see the actual bit depth of your image in the upper-right corner of the Viewer.
Excuse the confusing little collage here, but it illustrates the settings:
I've circled the place where you can see your image's qualities in the Viewer: resolution and depth. Also, in the Preferences, you've probably set the Frame Format correctly, but you also have to set the Loaders to use Fusion's Default instead of the file's Format. If you already have Loaders in your scene when you change this Preference, they will not be updated, so you need to go into the Import tab of the Loaders and change the setting there.
Or you can just forget about all of that and force the stream to float32 using a ChangeDepth node. That's my preferred method, as it makes it obvious in the Flow itself what's happened.
Once you're sure you're in floating point mode (and 16-bit or 32-bit actually doesn't usually matter—it's the floating point numbers that are critical), the additions and subtractions will work correctly. When using the ChannelBooleans for this purpose, it's good practice to set the Alpha to Do Nothing. If you start using the Blend controls to influence the strength of the effect, your Alpha values will become unpredictable, and you'll find yourself needing to force it back to white at some point. Better to simply exclude it from all the calculations.
The initial subtraction of the blurred image from the original gives you an image with only the details. This image is the mask referred to in an Unsharp Mask operation. The detail mask has pixels with negative values, so you must be careful with operations you perform on it. For instance, a Color Correct's Gain control is a multiplier. Since some of the pixels are negative, the Gain will actually make those pixels darker instead of brighter. Gamma adjustments can likewise have unpredictable effects. Suffice to say, don't take anything for granted when manipulating the detail branch.
When you add the blurred and detail images together again (assuming you have changed nothing in your detail layer), you should get the original image, just as expected. If you instead add the details to the original image, you will get the same result as an Unsharp Mask.
I've got to get to work now—I'm already late. If you have more questions, feel free to ask; there was also another discussion of this topic here recently. I think the thread title had something to do with convolution sharpening, but the conversation quickly veered into the Unsharp Mask.
Frequency seperation in Fusion
4 posts
• Page 1 of 1
- Posts: 24
- Joined: Mon Nov 02, 2015 4:52 pm
4 posts
• Page 1 of 1
Who is online
Users browsing this forum: jsghost777 and 18 guests
